What is nibbleblog #
Nibble-blog is the blogging platform where you can create a blog. It is free-to-use and easy-to-use blog software you have to just download and start to use. You can install it using different methods like manual installation or using a softaculous app installer. In this article, we are going to discuss both installation methods.
Uses of blog #
- Creating personal blog
- Niche blogs
- Products blogs
System Requirements of blog #
- PHP
- v5.2 or higher
- module – DOM
- module – SimpleXML
- Webserver
- Apache
Installation of nibble-blog #
For the installation of nibble-blog, there are two methods you can use any one of them. The methods are so easy to install, methods are as follows.
- Installation using softaculous app installer
- Manual installation
Installation using softaculous app installer #
For installation of nibble-blog using softaculous app installer. you have to follow the following steps.
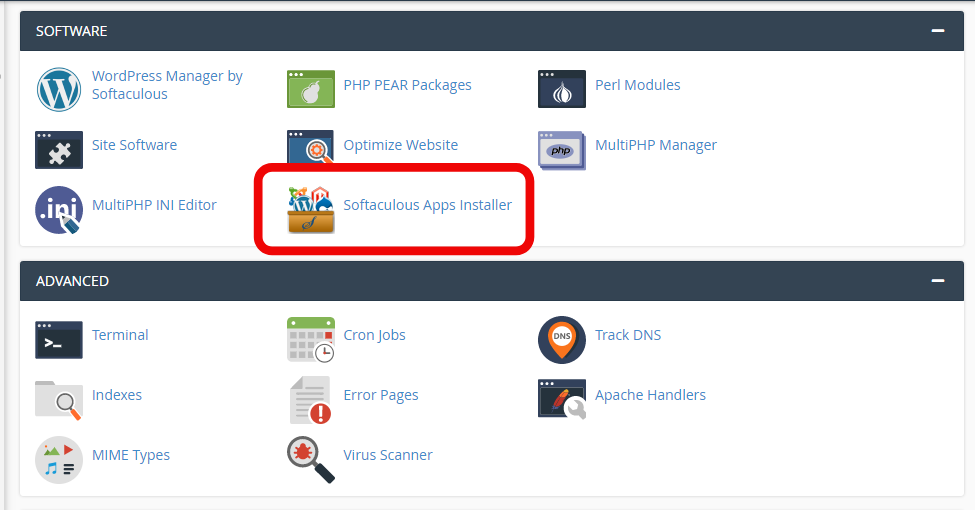
Step1: login to the hostrik hosting Cpanel a, go to the software section and click on the softaculous app installer, a new window of softaculous app installer will open.
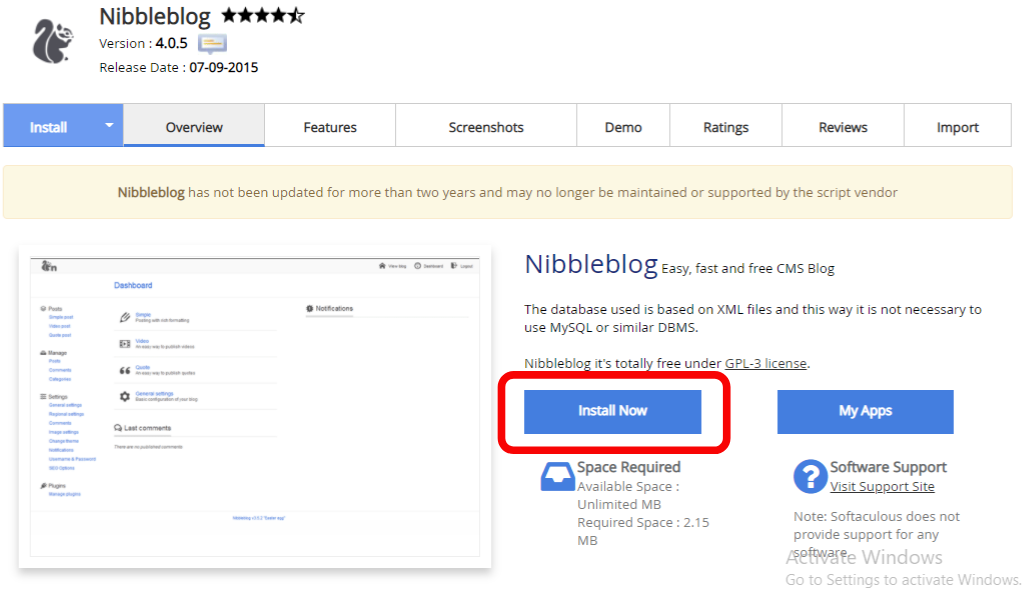
Step2: search nibble-blog in the search box of softaculous app installer and press enter. The installation window of nibble-blog will open.
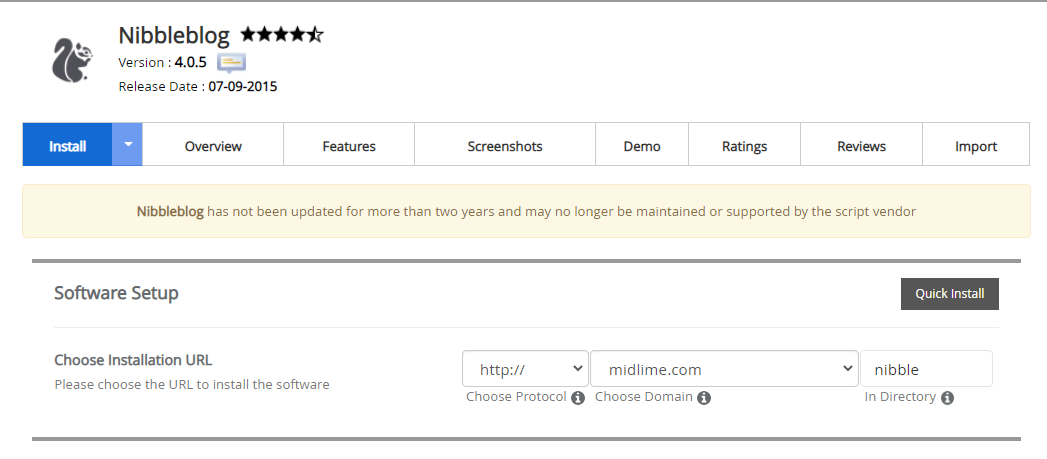
Step3: In the next interface you will see the information required for the installation of nibble-blog. This information is divided into 4 parts
- Software setup
- Site settings
- Admin account
- Install
Software setup
Step1: In software, set up select the version of nibble-blog you want to install on your system.
Step2: In the next part, select your website’s protocol (HTTP:// or HTTPS://) then select the domain and directory you want to install nibble-blog.
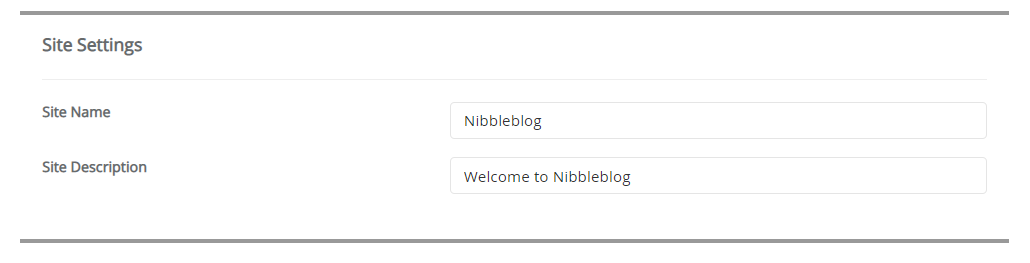
Site settings
Step1: In the site setting part select the site name and site description.
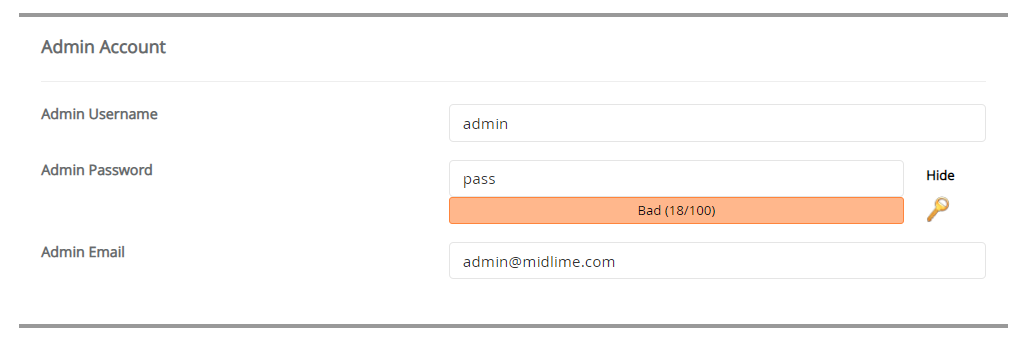
Admin account
Step1: In admin, the account setting creates the username and password. real name and Then give the admin mail
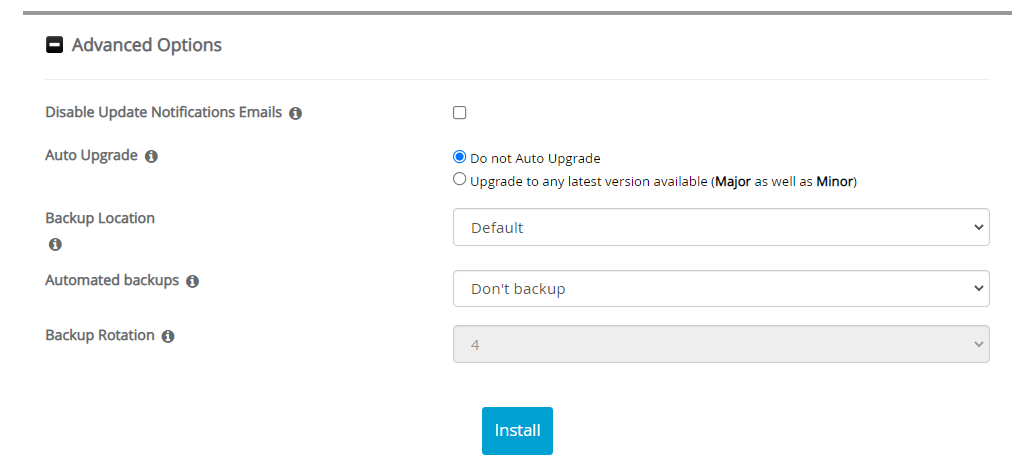
Install
Step1: And click the install button to install nibble-blog. this is the installation process using a softaculous app installer.
Manual installation #
To install nibble-blog manually perform the following steps. To install nibble-blog the procedure is divided into 3 parts.
- File configuration.
- Website configuration.
File configuration
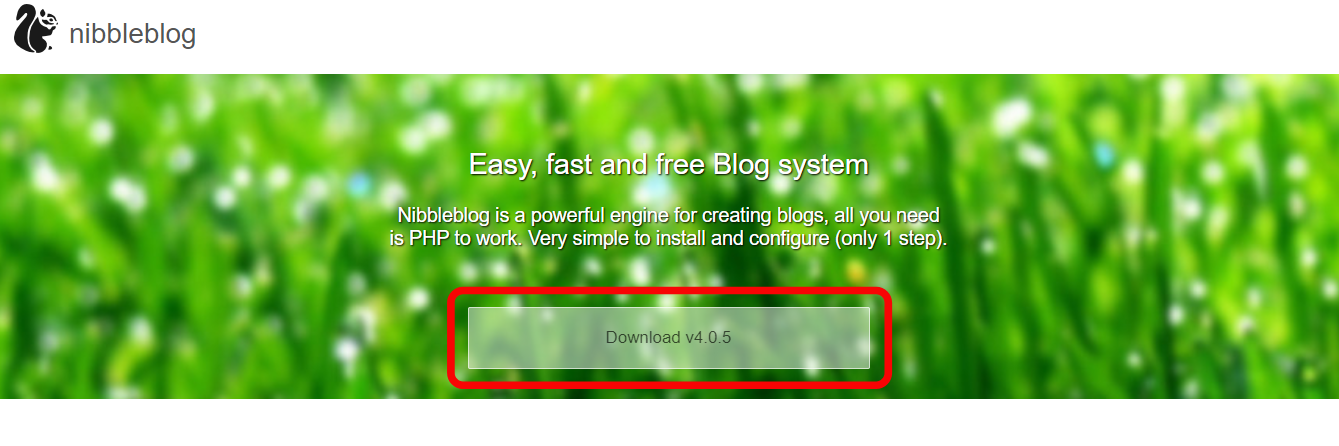
Step1: go to the official website of nibble-blog and download the latest version of nibble-blog in the zip file.
Step2: login to the Cpanel of your hosting, go to file manager.
Step3: in the public_html folder paste the blog file you downloaded, and extract it.
Website configuration
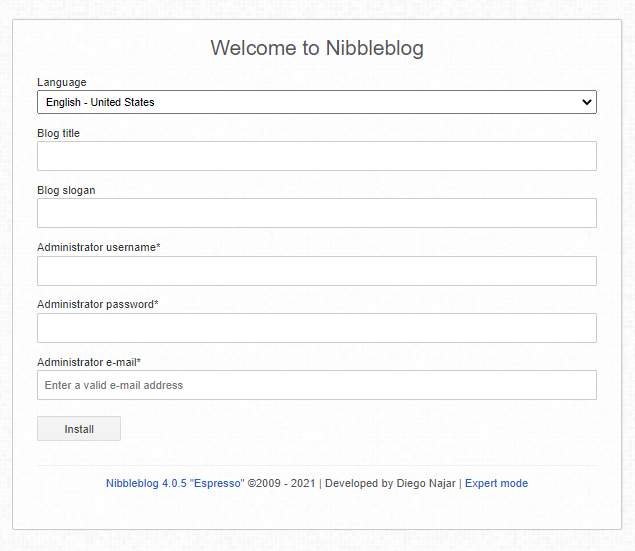
Step1: go to the URL you are going to install the blog. You will see the installation window.
Step2: choose the language for installation then give the name for the site and slogan of the blog
Step3: In the next step give the administration username and password for the admin account, then give the email and click install.
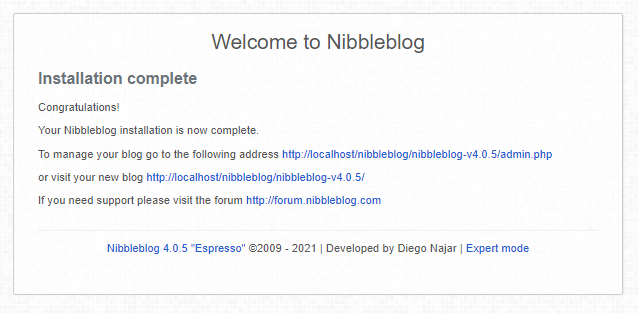
Step4: Here you will see the successful installation, and you will get the admin account URL and main URL of your blog.
these are the methods to install blog software. you can use either installation using a softaculous app installer or manual installation.


