What is clippercms #
Clippercms is a flexible open-source content management system. It is built on PHP and MySQL. Clippercms is under a GPL license, anyone can use it for their website or personal website. Here is the guide to install clippercms using a softaculous app installer or manual installation.
Uses of clippercms #
- Personal blogs
- Websites
- Business website
- Complex applications
System requirements to install clippercms #
- PHP
- Version 7.3 or above
- Database
- MySQL 5.5
- Webserver
- Apache
Features of clippercms #
For developers
Using clippercms you can build any website easily.
Content editors
Content editing with the clippercms is very easy
Designer
The templates of HTML/CSS are already in the clippercms.
How to install clippercms #
For installation of Clippercms, there are 2 methods available you can use one of them for the installation of clippercms
- install clippercms using softaculous app installer
- manually install clippercms
install clippercms using softaculous app installer #
You can use a softaculous app installer to install Clippercms on your hosting, for installation of Clippercms you have to follow the following steps
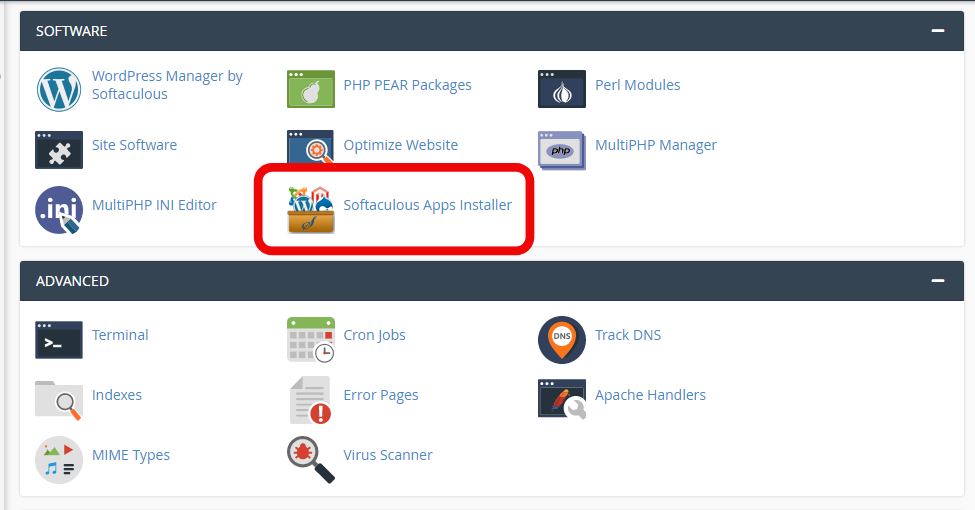
Step1: login to your hostrik Cpanel account and go to the software section and click on the softaculous app installer. installation window of Clippercms will open.
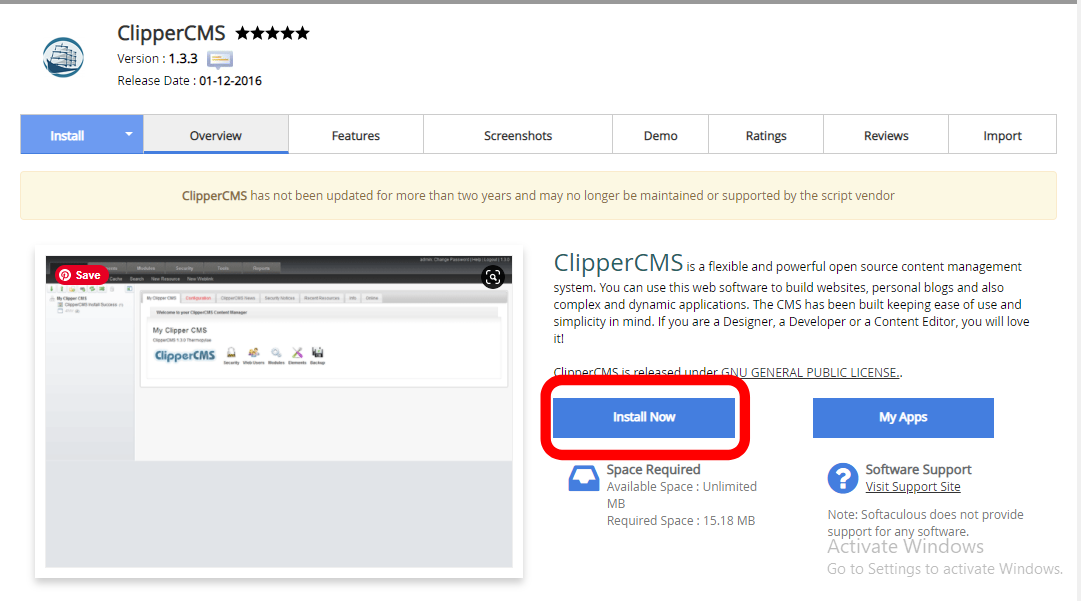
Step2: in the softaculous app installer type Clippercms in the search box and press enter. The installation window of Clippercms will open on that click on install.
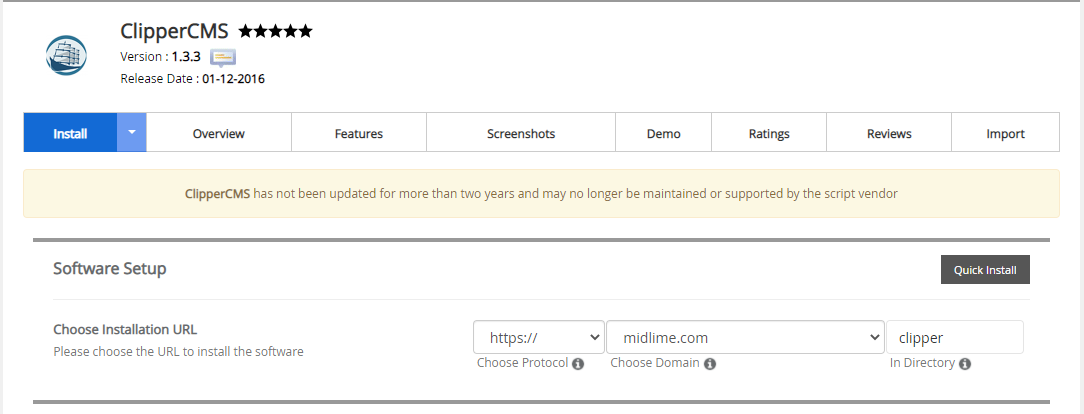
Step3: In the next window, select your website’s protocol (HTTP:// or HTTPS://) and then select the domain you want to install the site on. And the directory where the site going to install.
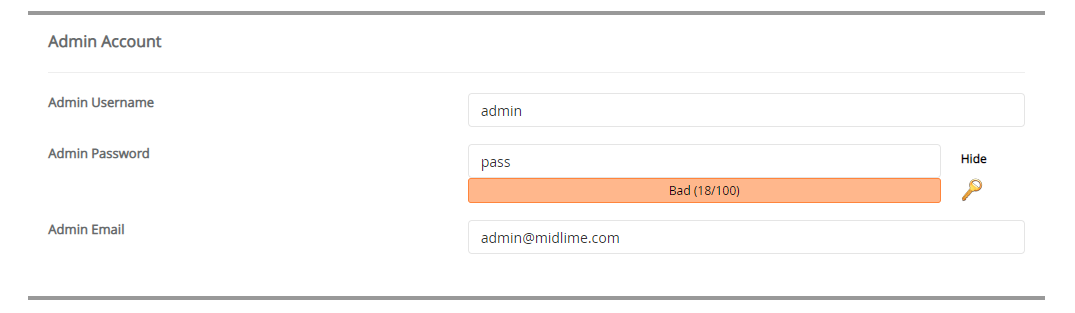
Step4: in the admin, account setup creates the admin account by giving the admin username password and email.
Step5: give the language of your site in the choose language section.

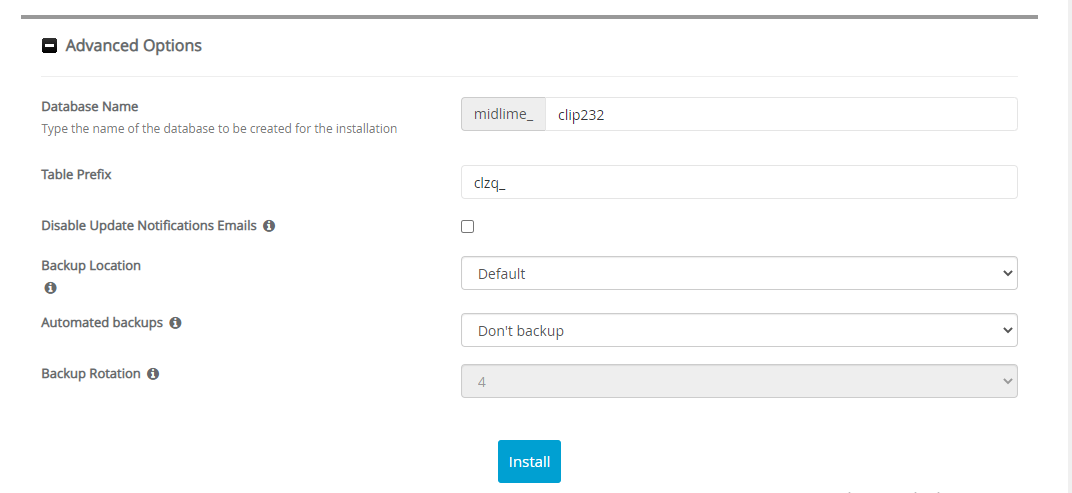
Step6: In the advance, section selects the database name and also select the backup option for the database then click on install.
manually install clippercms #
For manual installation of Clippercms, you have to follow the steps, the steps are divided into 3 parts
- File configuration
- Database creation
- Clippercms configuration
File configuration
Step1: go to the official website of the Clippercms and from the download, section download the latest version of the Clippercms. or download code from GitHub.
Step2: login to your Cpanel account and in file manager upload the file in the public_html folder of the domain you’re going to install the Clippercms
Step3: after upload extract the file in that folder itself.
Database creation
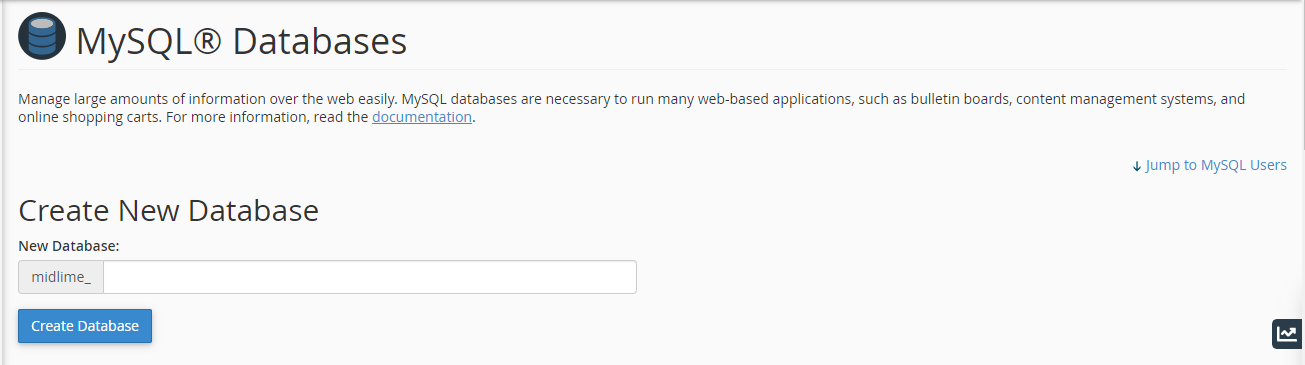
Step1: in your hostrik Cpanel account go to the database section and click on MySQL database.
Step2: create the database here by giving the name to the database and click on create database.
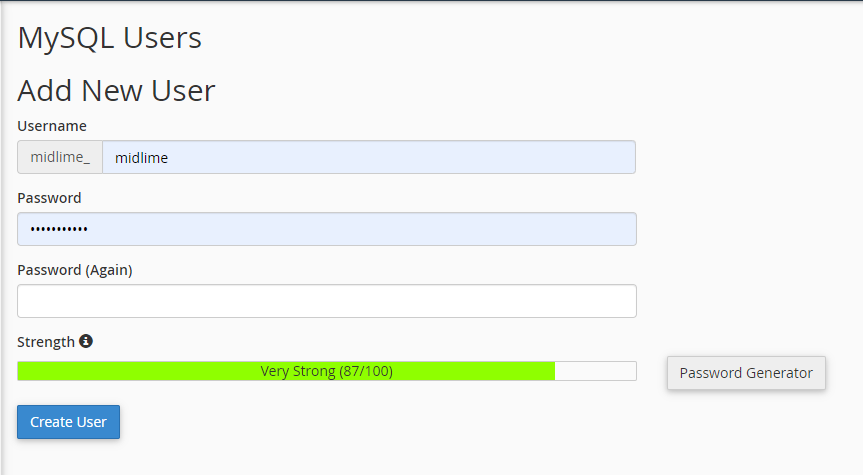
Step3: After creating a database add a user to it for that in add user section give the username and password of the user and click on create a user.
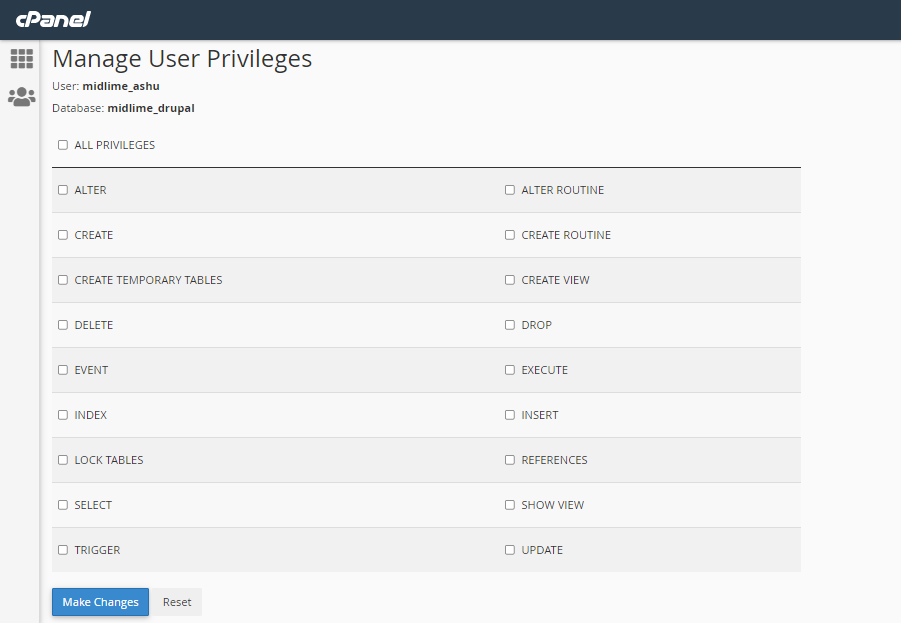
Step4: After creating the user give them all privileges by clicking all privileges.
Clippercms configuration
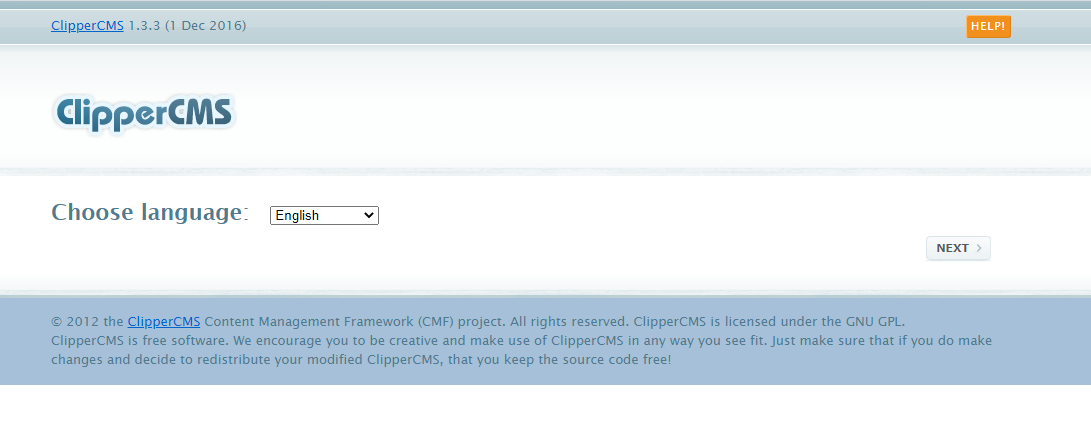
Step1: go o the URL you are going to install clippercms, choose the language for installation of clippercms.
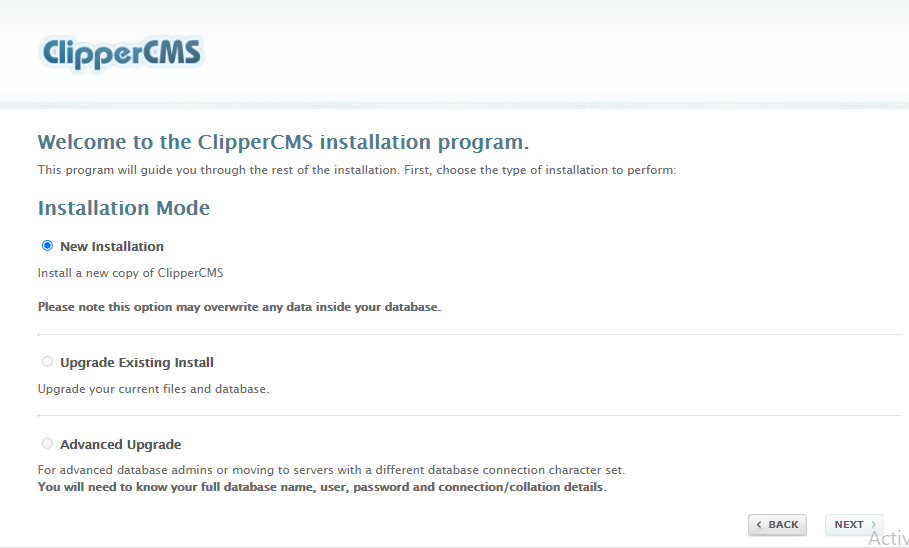
Step2: in this step select the mode for installation.
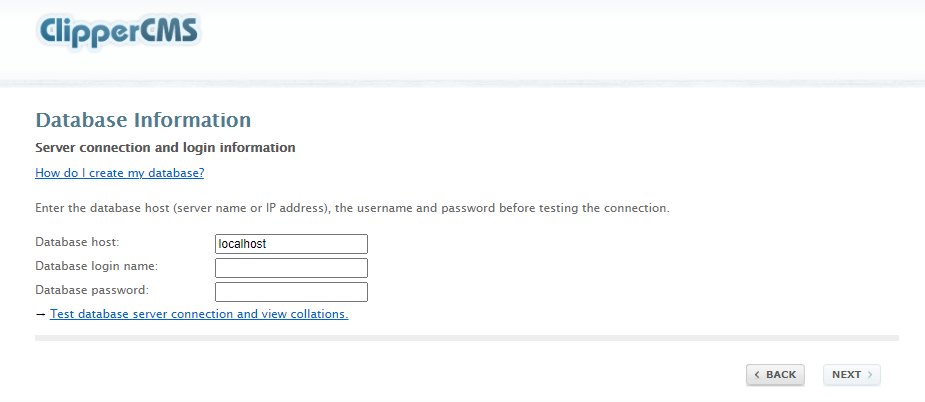
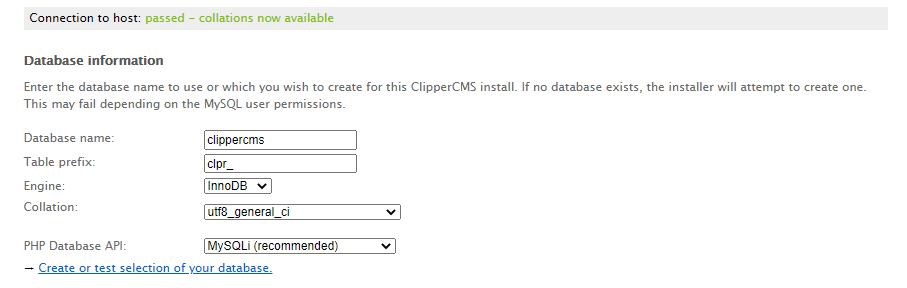
Step3: In the next step give the username and password for the database and click on test database server connection, and view the collation.
Step4: in the next step, give the database’s name and click on create or test a selection of your database.
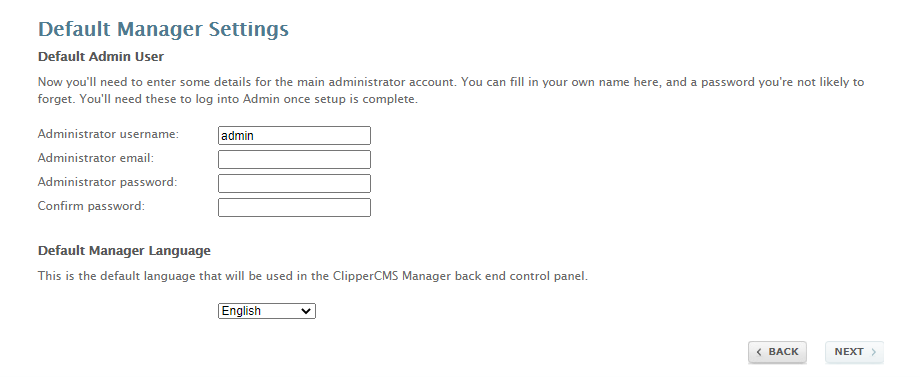
Step5: in this step give the information about the admin, give username password, and email of the admin.
Step6: in this step, it will check all the system requirements then click on I agree with the license agreement and click on next.

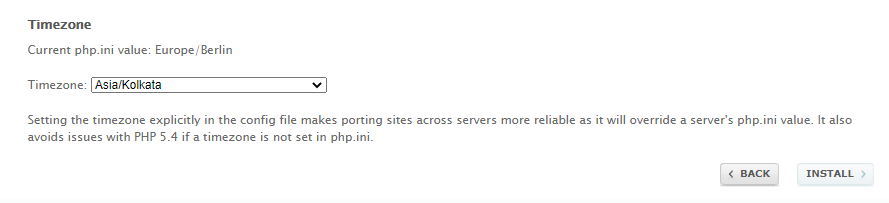
Step7: In the next step select the time zone and click on install.
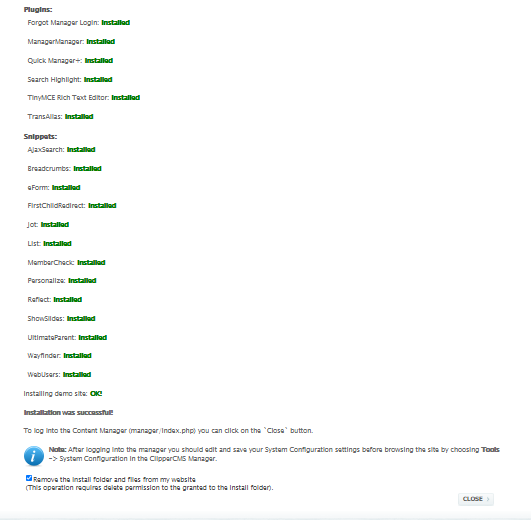
Step8: In the next step you will see installation is completed, click on close to log into your dashboard.