How to configure Leech Protection in cPanel #
What is leech protection? #
It allows you to prevent users from publically disclosing passwords used to access restricted areas of a website. This tool will redirect accounts that have been compromised to a URL of your choice. It does this by limiting the number of times a user can logins within a 2- hours period to these restricted areas.
Two types of leech protection
- Enable
- Disable
-
Enable #
Follow these steps:
- Log in to cPanel using your username and password
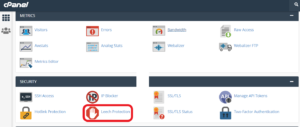
- Under Security click on the Leech Protection
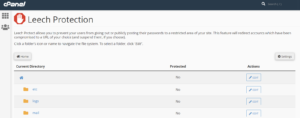
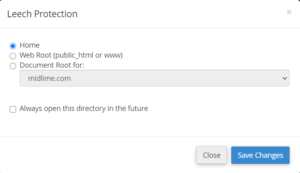
- After clicking the select document root of your website. In the other setting, click Go
- Next, you select the folder you wish to protect by clicking
- When you select a folder to protect, then again a new interface will appear as follow:
- A number of logins – You’ll have options to select the number of logins allowed per user in a 2 – hour period.
- URL to Redirect Leech users to – Which URL to redirect suspected leechers.
- Send Email Alerts to – The system will send an email to the specified address when leeching protection redirects users from the site.
- Disable Compromised Accounts – Disable the password of users who trigger leech protection, suspending them. To reactivate their accounts, reset their passwords.
- Click “Enable”.
-
Disable #
Follow these steps:
- Navigate to the folder for which you wish to disable the leech protection.
2. Click “Disable”
Manage Users: #
Adding, Modifying, and Deleting users perform the following steps:
- Navigate to the folder for which you wish to manage the user.
- Click “Manage Users” you will be redirected to “Directory Privacy” by the system and the following interface will appear.
Set permission for “/<your specific path>”
Looking for more information cPanel and search our hostrik knowledgebase


