What is TomatoCart? #
TomatoCart is a powerful, flexible open-source, and the simplest shopping cart software solution for business. It allows professionally built innovative tools that respond quickly to all the commands once the installation is completed.
It’s distributed under the GNU General Public License (GPL) terms, free download, and share. It is user-friendly software. The community, including project founders and other developers, are supposed to work together on this platform, contributing features, technical support, and services.
It is a multi-task supported by multi-window operation, enabling users to work with several modules such as products, customers, and orders at the same time. It offers significant usability improvements and makes interacting with web interfaces faster and more efficient.
Features of TomatoCart #
- RIA-based admin panel
- Web Analytics (Piwik)
- SEO ready
- Lightweight
- Built-in CMS
- Site management
- Promotion tools
- Built-in Email system
- Shipping
- States and reports
- Catalog/product management and browsing
- Payment (Gateway include: Amazon IPN, Athorize.net credit card/e-check, bank wire, google checkout, iDEAL, Pay pal, safe pay, western union, and much more)
Top System Requirements of TomatoCart #
- Linux or Windows OS
- PHP v5.2.0+ (with MySQLi extension)
- MySQL v5.0.7+
- Ext JS 2.2.1
How to install TomatoCart using Softaculous #
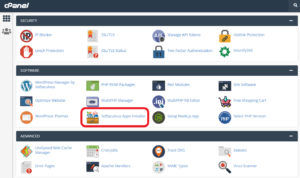
Step 1. Go to cPanel
Step 2. Under the software, section click on the “Softaculous App Installer” button
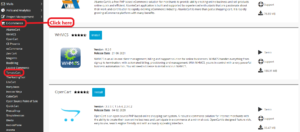
Step 3. On this window, you see a sidebar on the left side select “E-Commerce” then scroll down to the “TomatoCart” click there
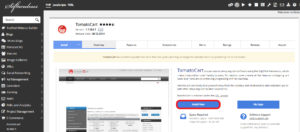
Step 4. After clicking open new interface here click on the “Install Now” button
Step 5. On the new window, you fill in the information
Step 6. First, choose the installation URL
Step 7. Next box choose Protocol
Step 8. Then next box Choose the Domain
Step 9. Then choose in a directory
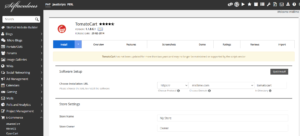
Step 10. Then type Store name
Step 11. Next box write store owner
Step 12. Then Create your administrator user name, password, then enter the real name
Step 13. Write Email in the Email box.
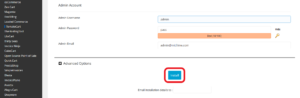
Step 14. Click on the install button at the bottom of the page
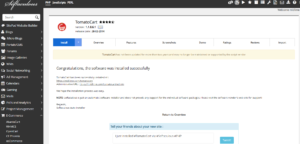
Step 15. You will get confirmation of successful installation on the interface.
Visit us hostrik.com


