What is osCommerce #
OsCommerce is the eCommerce tools provider which provides tools to create your own eCommerce store for selling your products worldwide.it is free o use so that you have access to sell your products worldwide using your products. Also, they provide a community for developers store owners for helping each other with their problems. Their main focus is to provide the best tools for their users. It is serving last 21 years.
Uses of osCommerce #
- Online store
- Small business
- Fruits and vegetable store
- Sports equipment
- Any other store
System Requirements for OSCommerce #
Webserver
- The webserver must supports PHP or allow execution of CGI scripts (use FastCGI over CGI for good performance)
PHP
- PHP version 4 and 5 are compatible with OSCommerce configuration (use PHP version 5 for better performance)
Database
- OsCommerce works on MySQL Database the minimum requirement of Database is 3.23 (use version 4 or 5 for better performance)
Installation of OSCommerce #
For installation of OSCommerce, there are 2 methods to install on your hosting
- Installation using softaculous app installer
- Manual installation
Installation using softaculous app installer #
For installation of OSCommerce using softaculous app installer, you have to follow some steps the steps are a follows
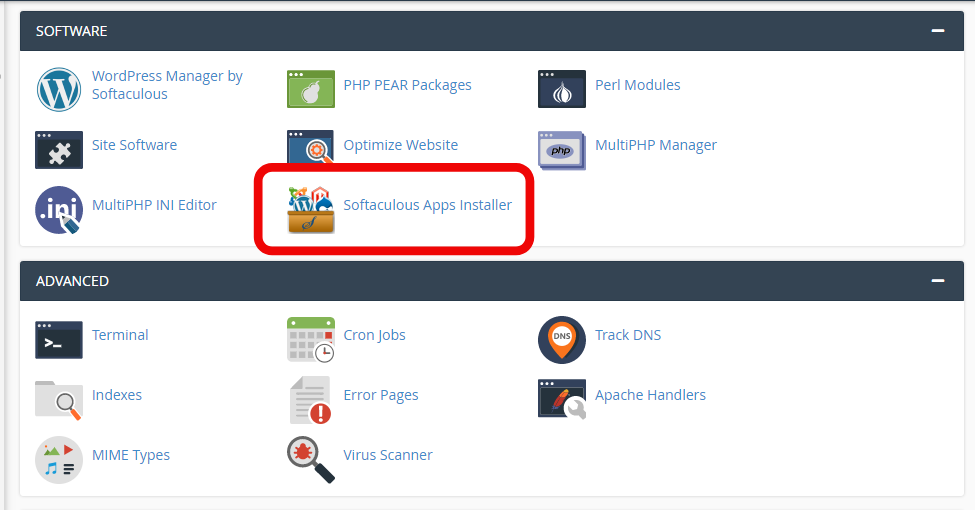
Step1: login to your hostrik hosting account and in Cpanel and go to the software section, and click on softaculous app installer
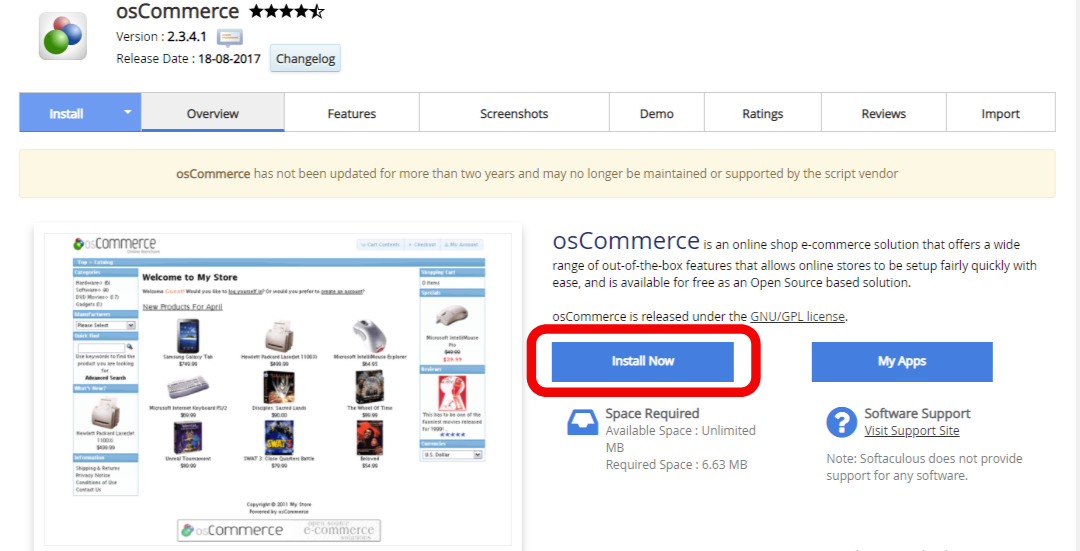
Step2: in the softaculous app installer search box type Oscommerce and press enter, the installation window of OSCommerce will open, click the install button
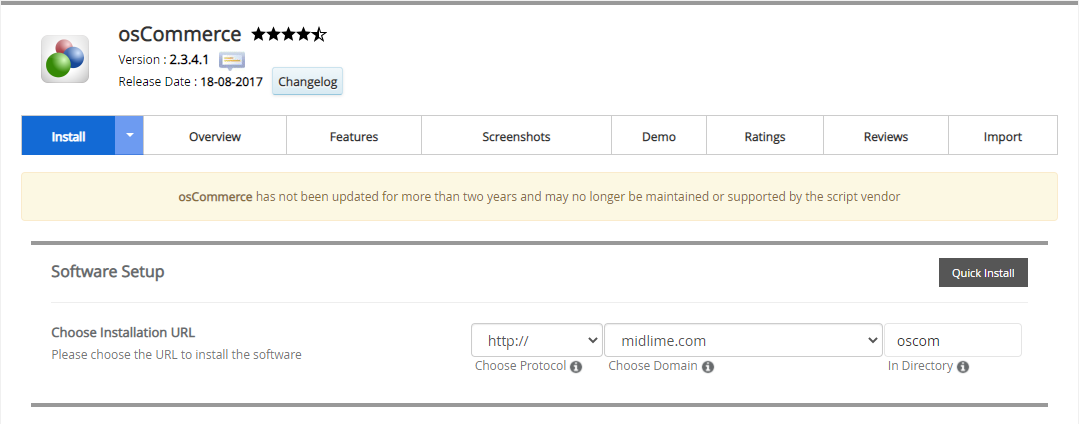
Step3: In the next window, you will see the installation window and it will ask you to fill in some information about your site
Step4: in software, set up selects the protocol of your site and domain off sit after that select the directory of your site.
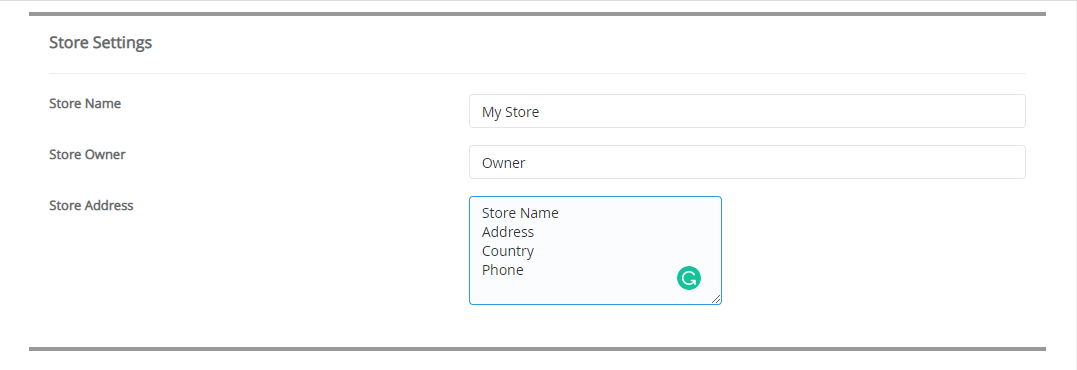
Step5: in-store setting selects the name of your store then that also gives the store owner’s name and the in-store address section gives the address of your store’s address.
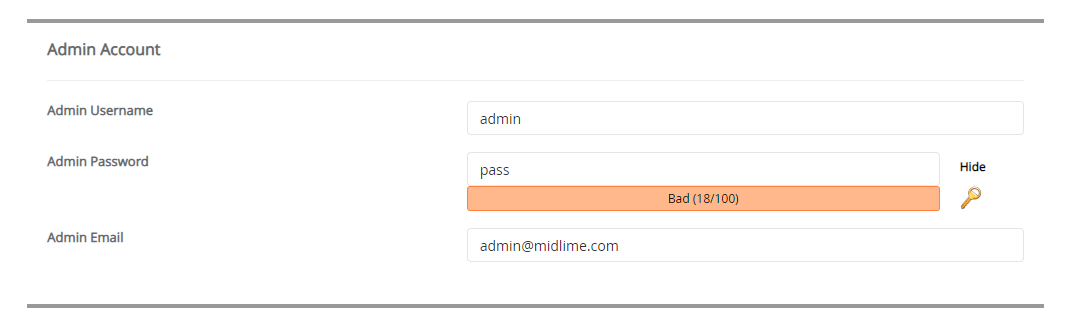
Step6: in the admin account set give the username and password of your admin account and also give the email id for your admin account.
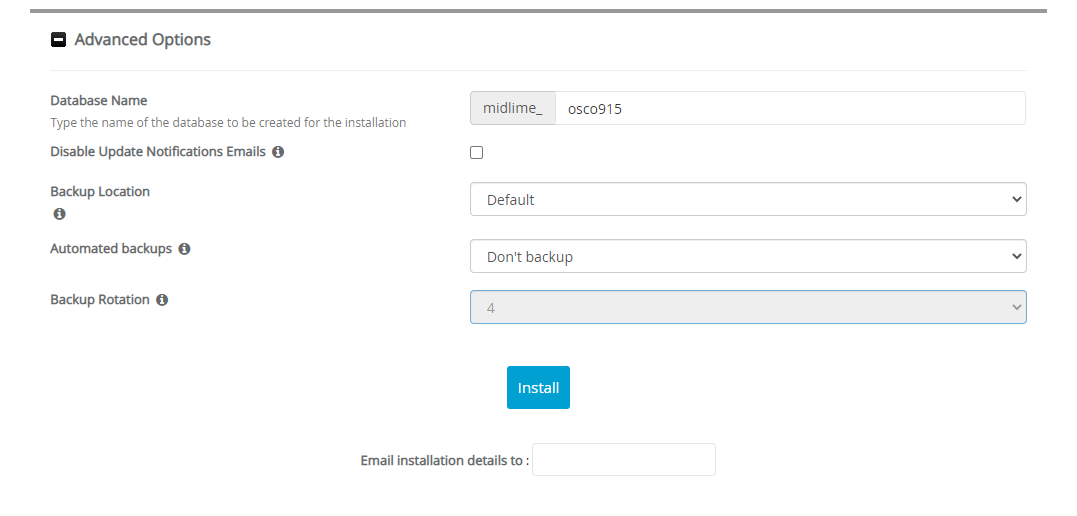
Step7: After that in the advanced section create the database for your store by giving your name to the database. Also, select the backup for your database, and click install
Manual installation #
For manual installation of OSCommerce, you have to follow the following steps the steps are divided into 3 parts
- File configuration
- Database creation
- Store configuration
File configuration
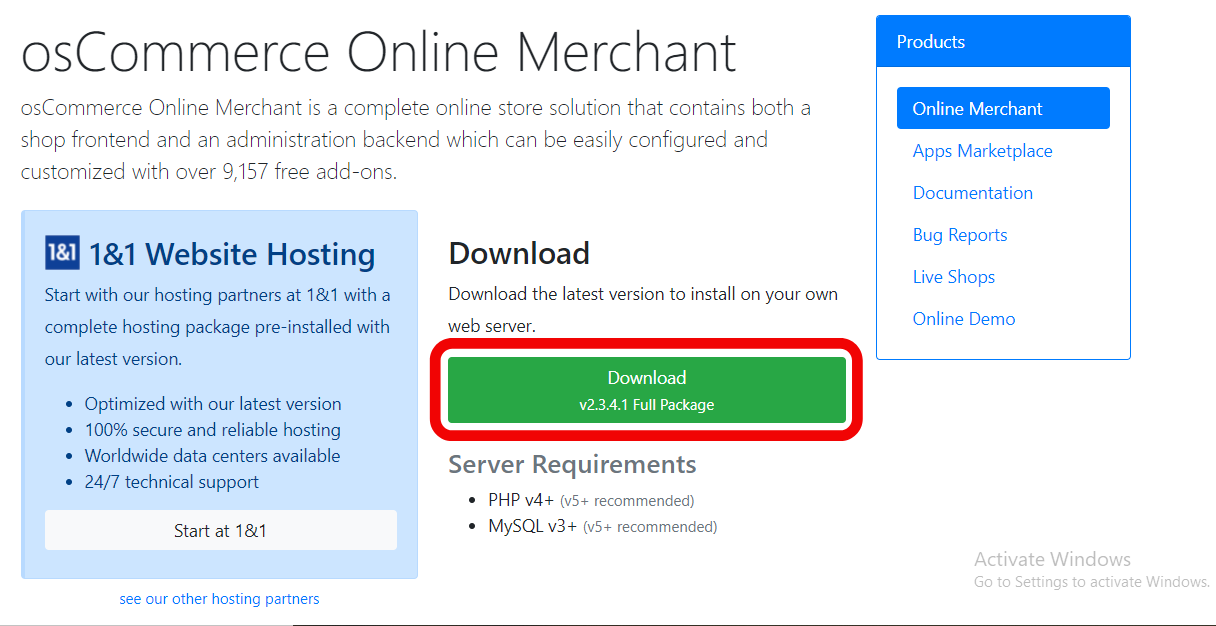
Step1: go to the official website of OSCommerce and from the download section download the latest version of the software.
Step2: extract that file, and log in to your hostrik Cpanel account, in that go to the file section click on file manager.
Step3: in the public_html folder upload the file that you extracted where you are going to install the OSCommerce.
Database creation
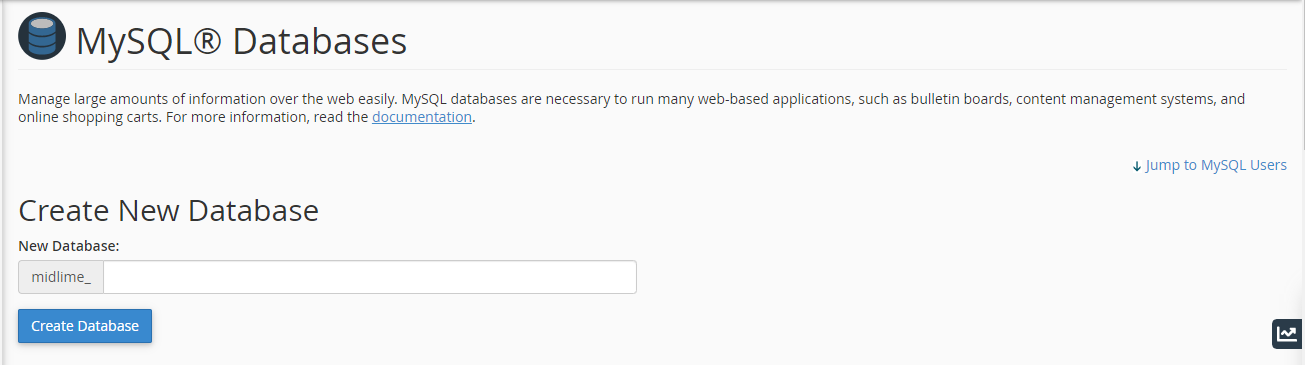
Step1: in database creation go to the database section of your Cpanel account and in that click on MySQLDatabase,
Step2: After opening a new window that creates the new database by giving the name of the database and click on create database
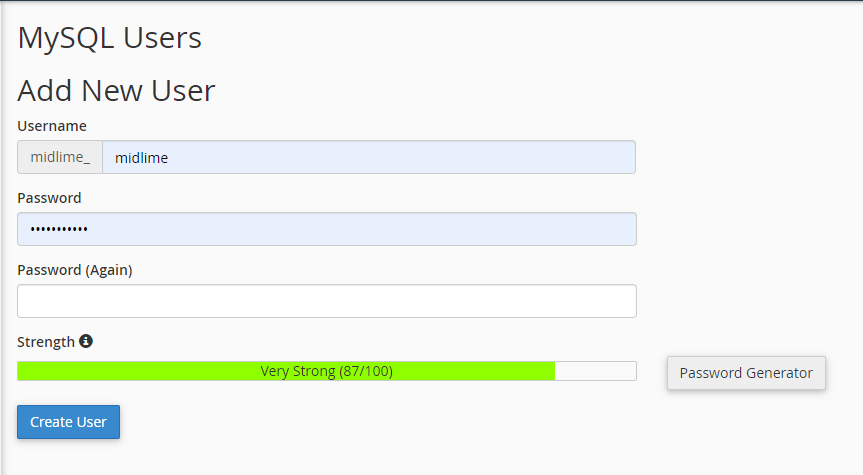
Step3: After creating the database you have to dd user to that database in add user section give the username and password of the user and click on create a user.
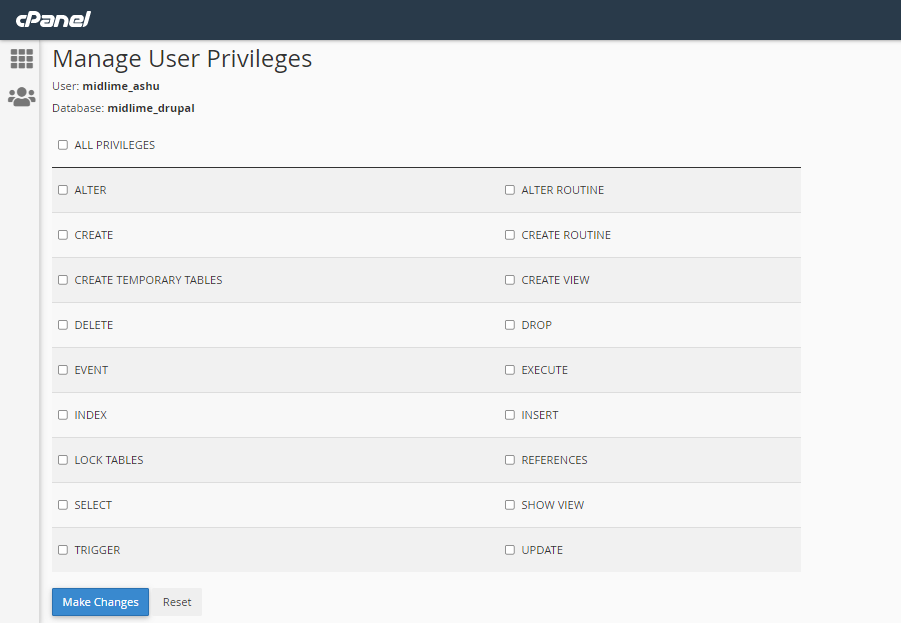
Step4: when you create a user you have to give privileges to that user, click on all privileges to all privileges to that user
Store configuration
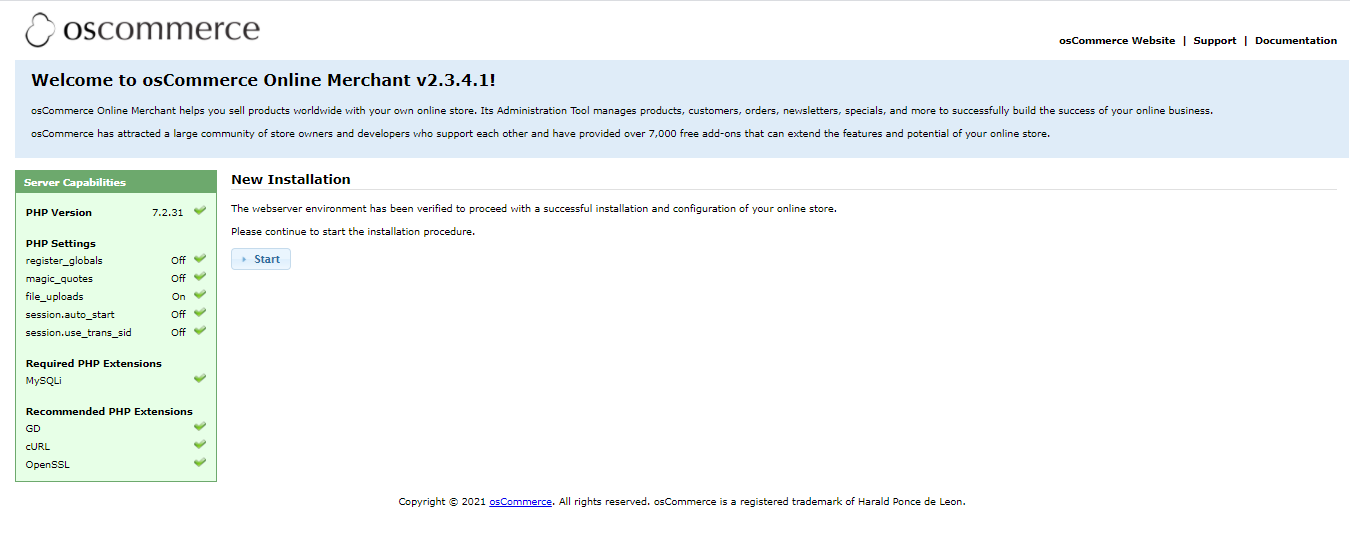
Step1: after all steps, the last step is to configure your store, go to the URL you are going to install the store.
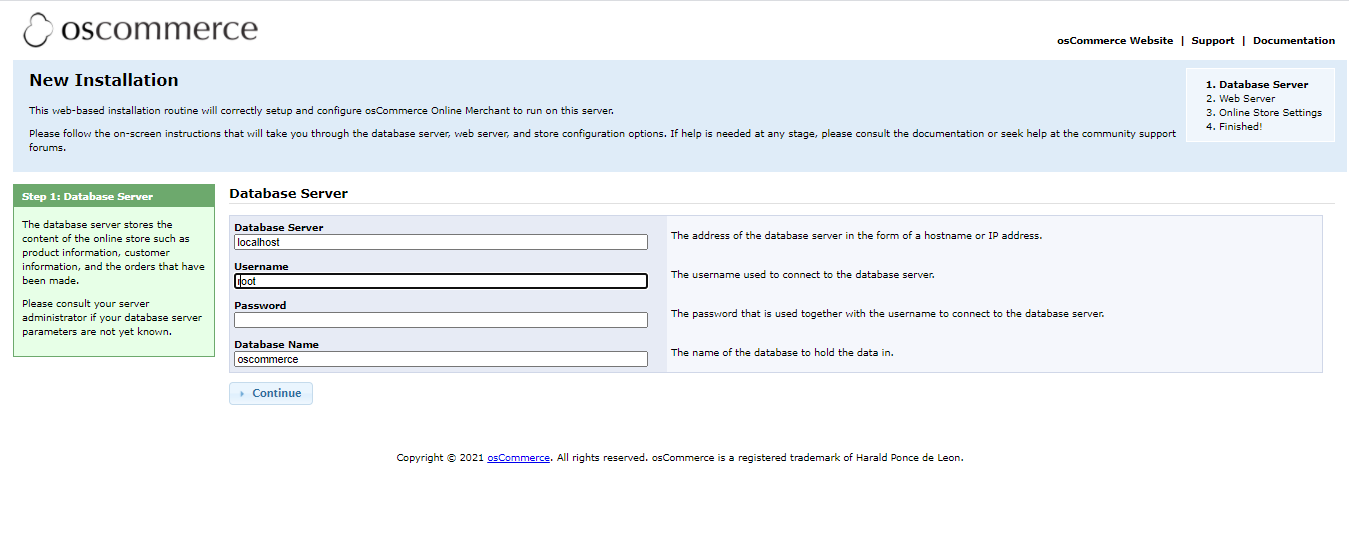
Step2: you will see the welcome window of OSCommerce, here you will see the requirements checked of OSCommerce. Click on start
Step3: After that, you have to configure the database you created with the store give the name of the database, and also give the username and password. Click on continue.
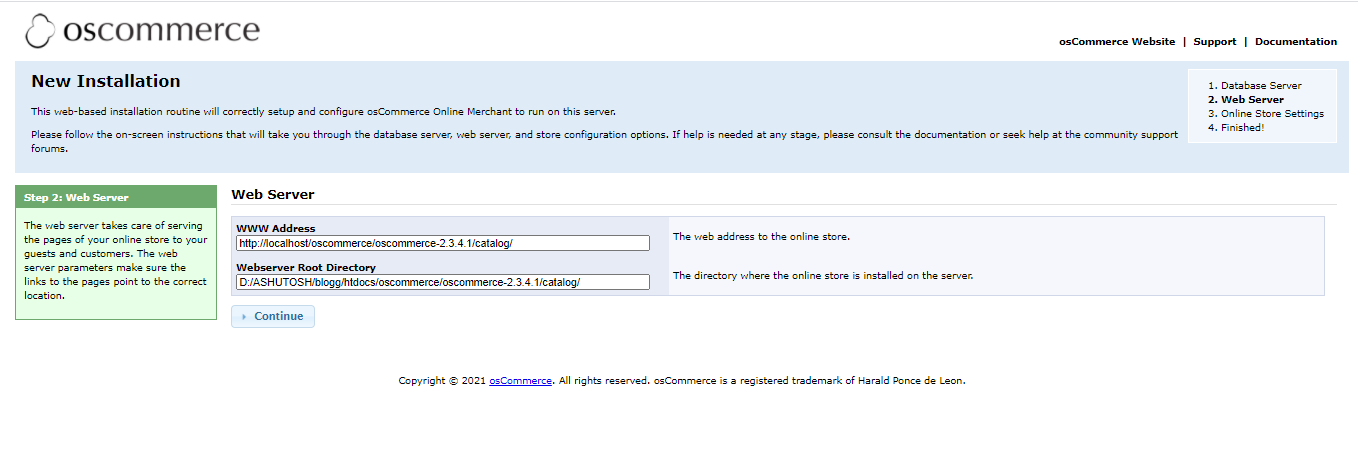
Step4: After that, you will see the webserver www address and directory of the store, click on continue.
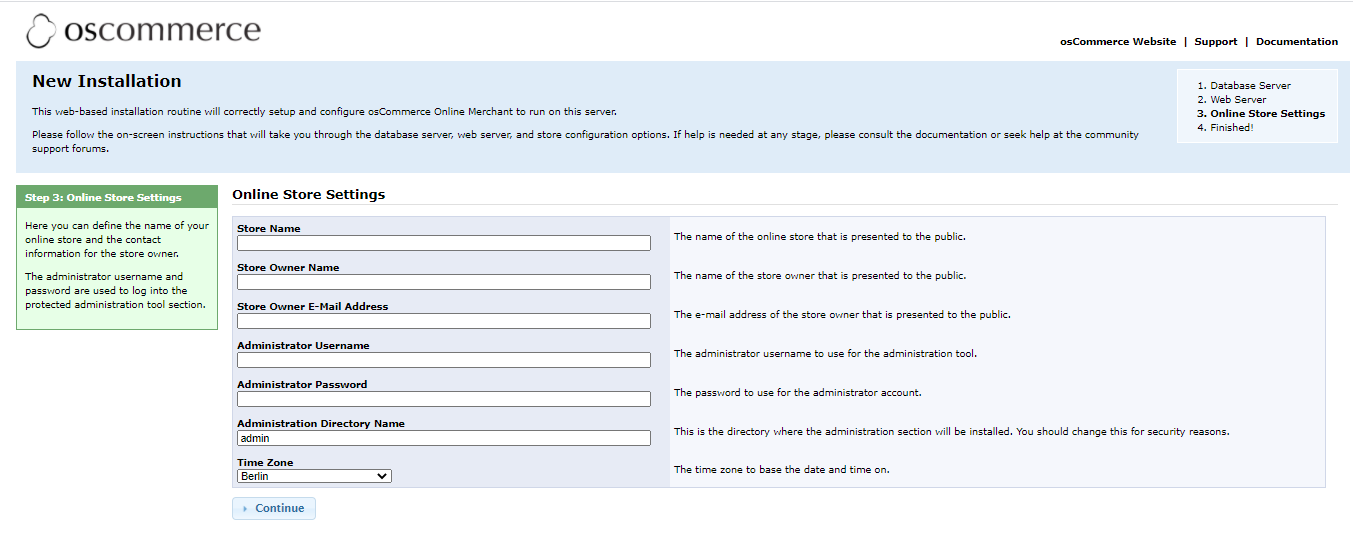
Step5: here give the information about your store and also create an admin account for your store and click on continue
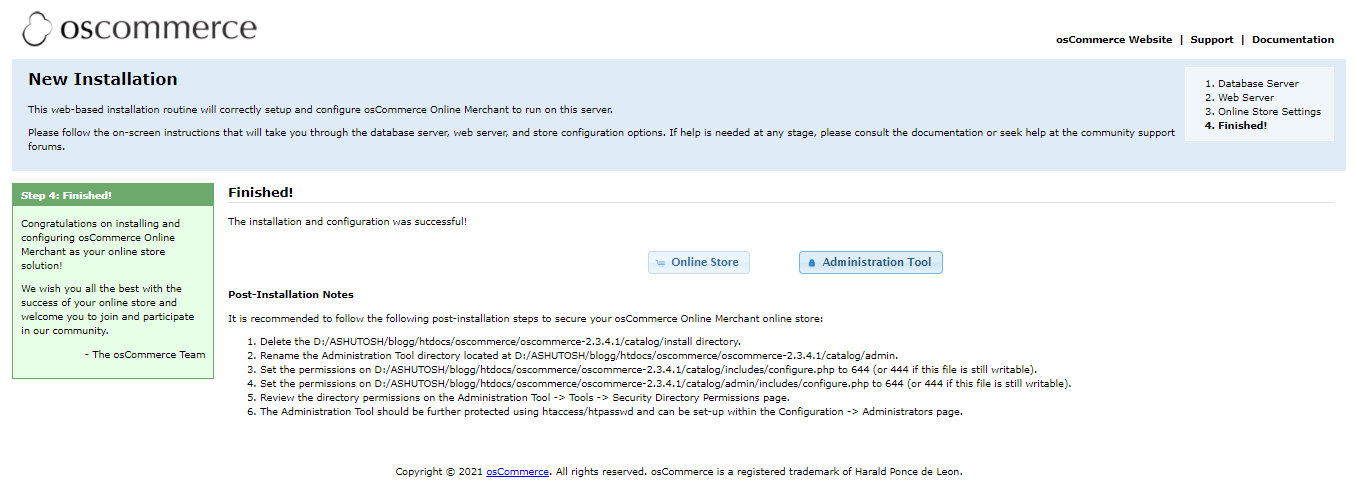
Step6: Here you will see the installation of OSCommerce is finished and here you will get the admin account and store URL.